
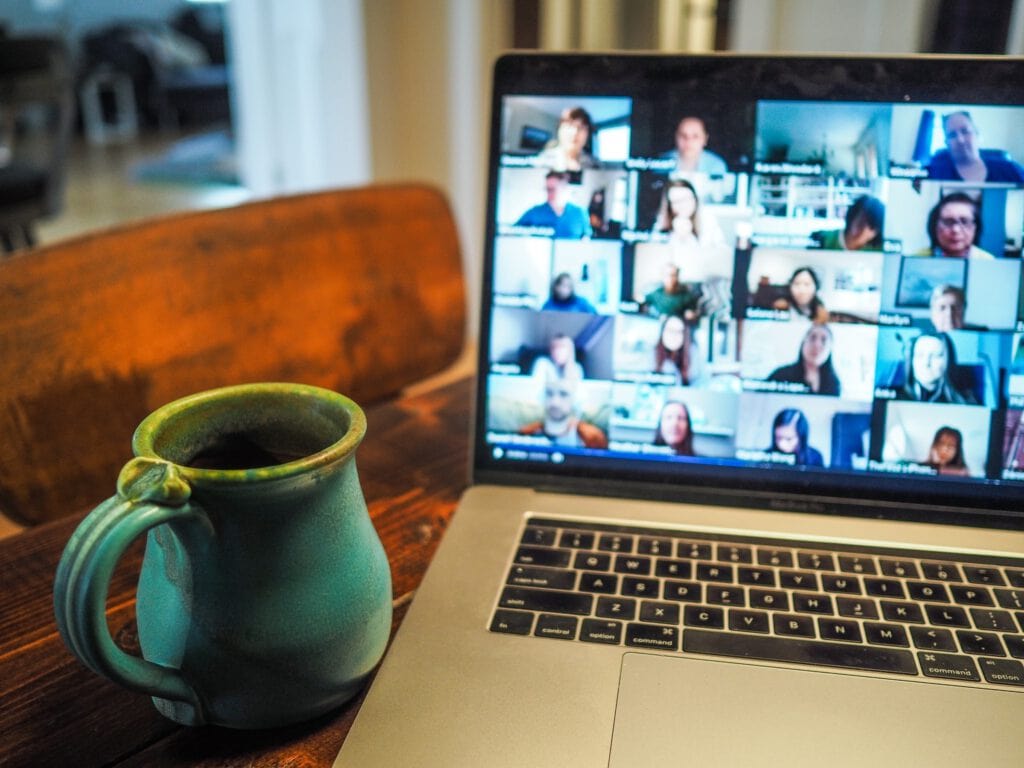
This past year, the Global and European Studies Institute has joined the rest of the world in taking our lectures, seminars, and events online. Having recently organized several large-scale virtual events and sessions, such as our EMGS Winter School and Alumni Conference, we thought we’d share some reflections on how we prepared for them.
By Therese Mager
So you want to host a virtual event! You’ve got your target audience, your theme, and some nebulous ideas about how to create a truly interactive event, but you’re uncertain about the execution. Following the Global and European Studies Institute’s recent switch to virtual, we’ve drawn up a list of 4 essential tips that we hope will be useful in planning your next online gathering!
Please note that these tips are based on our experience hosting live (not pre-recorded) events, using Zoom as our main conferencing software.
Tip #1: Create a “home base” and an effective communication strategy
Once you’ve chosen the dates for your event, created a rough schedule, and begun reaching out to your speakers, you’ll want to inform your body of attendees of the upcoming festivities. The tricky thing here is finding a way to ground your virtual event. It needs a “place,” and your attendees need to be reminded several times of how they can participate. For this reason, we recommend establishing a website with basic info about the event first, then sending out invitations via an email marketing tool (such as Mailchimp or Sendinblue).
After that point, it’s important to keep up a steady stream of reminders via social media; you can use your organization’s Facebook, Twitter, or Instagram to post the occasional reminder in the weeks leading up to your event, and confirm your final schedule via an email campaign a few weeks before your event kicks off. You’ll want to build a landing page or similar online “home base” with links to your virtual event—the more accessible it is, the better—and to remind your attendees of the event via email right before it begins. Remember, virtual events are easy to forget!
To make the communication process easier on yourself (and your team), draw up a schedule in the early stages of your planning to know when your emails, posts, and tweets should go out into the ether, and what information they should contain.
Tip #2: Prepare for tech difficulties
The tech world has certainly risen to the occasion over the course of the past year, providing us with ever more ways to stay in touch while socially distancing. Nonetheless, it’s essential to prepare yourself and your team as much as possible for the occasional glitch! Here are some easy steps you can take to avoid a tech-tastrophe:
- Test your material. Make sure you test your software (Zoom, Hopin, Adobe Connect…) and your hardware (microphones, webcams, headsets…) plenty of times. If you decide to use a feature you’ve never tried before, such as Zoom’s registration system, test it several times to make sure you’re familiar with how it works. Enlist friends and family members to help you identify the pitfalls and potential solutions within your tech set-up.
- Engage a “tech host” for your event. Ask a colleague who’s reasonably tech-savvy to be on standby at your event and offer tech support to anyone who is experiencing IT difficulties. This person should not be the main organizer or moderator, whose function is to keep the content of the session running smoothly.
- Ask your speakers to arrive early. Tell your guest speakers to come 15-20 minutes before the event officially begins so that you can check everyone’s sound and video.
- Use your conferencing software’s features to avoid hiccups during your event. For Zoom meetings, for example, you can use the “Waiting Room” function to pick and choose who can be in the “room” with you before the meeting begins. If your event doesn’t require immediate participation from attendees, then we’d recommend choosing “mute all upon entry” to keep background noises from interrupting your speakers. Encourage your attendees to use the chat function or to “raise their hand” to indicate when they have a question.
Tip #3: Bring structure to your event through thoughtful moderation
If you are chairing or moderating an event, bear in mind that your speakers and attendees are looking to you to provide structure for the event. Prepare (and rehearse) short introductory speeches about your guest speakers, and make it clear when they—or your attendees—have the floor. You may also wish to lay some ground rules at the beginning of each session, reminding your attendees of how they can participate in the question-and-answer segment or asking them to keep their microphones on mute.
When it comes time for Q&A, be prepared with your own thoughtful question, preferably based on the presentation(s) you’ve just heard. Virtual session attendees often need a minute to formulate their questions, so it’s a great idea to get the ball rolling with your own question.
When the session is winding down, your attendees and speakers will again look to you to close the session. Try to finish the meeting in a timely manner, and don’t forget to thank your speakers and attendees.
Tip #4: Find creative ways for your attendees to mingle
This is the most challenging part of hosting an online event! Obviously, virtual meetings can’t offer the same opportunities for chance encounters and networking that in-person events do. Nevertheless, there are plenty of options for spicing up your online event. Here are a few ideas we’ve tested over the past few months:
- Set up a virtual room on wonder.me. Wonder.me allows attendees to move about from one group or cluster to another—just like in a real coffee break or networking session! As of early 2021, you can set up a room on wonder.me for free.
- Run a virtual networking session over Zoom. This is tricky, but possible to do using Zoom’s “breakout room” feature. For this kind of activity, we would recommend no more than 40 participants. Prepare enough breakout rooms to include 4 to 5 randomly assigned attendees per room and, after a quick explanation of the rules, send them off into the rooms for a limited amount of time (say, 10 minutes). We’d advise sending them automatically, rather than letting them “accept” the invitation to go to their breakout room (as this inevitably leads to lost time). Once your first round is up, bring them back to the main room—then send them off to another randomly assigned series of breakout rooms to make new friends!
- Host a virtual pub quiz. It’s perfectly possible to create an engaging pub quiz without the pub! Prepare a quiz with 5 rounds of 5 questions each, and assign your attendees to breakout rooms (with 3 to 6 players per room). For each round, first read out your 5 questions to the main “room,” then drop the questions into the group chat for clarity. You can then send the attendees to their breakout rooms for 10 minutes, allowing them time to discuss their answers. Ask them to send their responses to you (privately!) via the chat function. Consider doing an audio round, à la “name that tune,” using Zoom’s “share computer audio” feature. It will immediately lighten up the atmosphere!
- Set up a meeting place for attendees on Slack. Slack is free to use and can serve as a conduit for sharing event announcements and presentation slides. You can also encourage your attendees to introduce themselves to one another, touch base with people in their geographical area, or set up private group discussions using Slack channels.